Jamie’s Blog
- Behind the Scenes: Oppenheimer
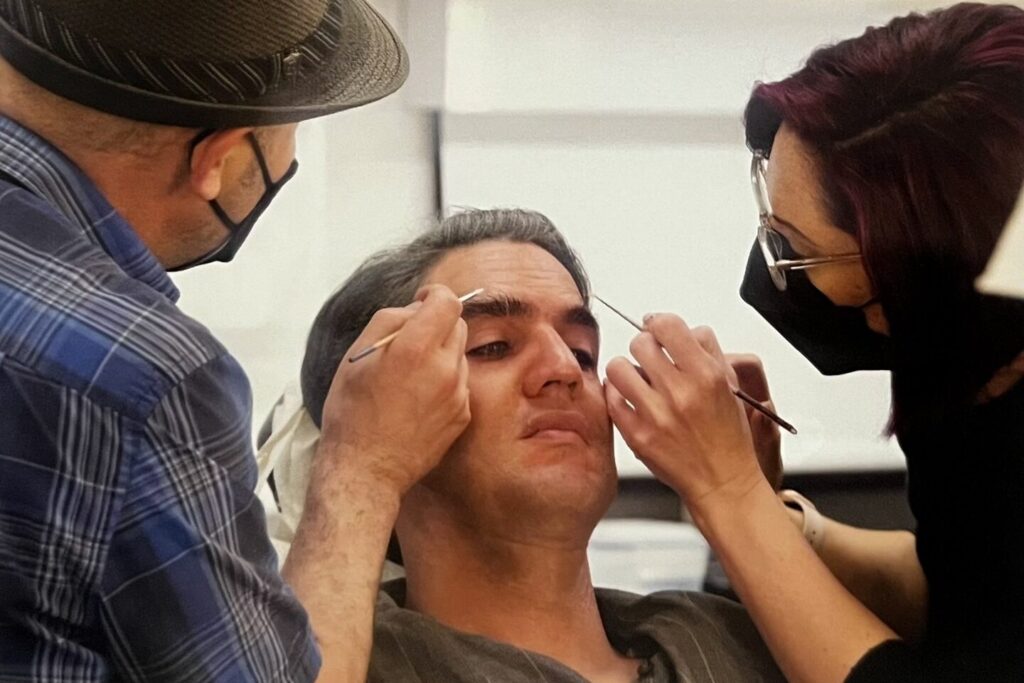 I’ve composed and deleted this a hundred times since “Oppenheimer” premiered last July. How do you articulate the weight of a season that forever changes you in a social media post? Here goes… I’ve never had the opportunity to be so immersed in the creative process of prepping a film. For months, I assisted Luisa (MU dept. head) testing the various ways in which our… Read more: Behind the Scenes: Oppenheimer
 - Behind the Scenes: Winning Time
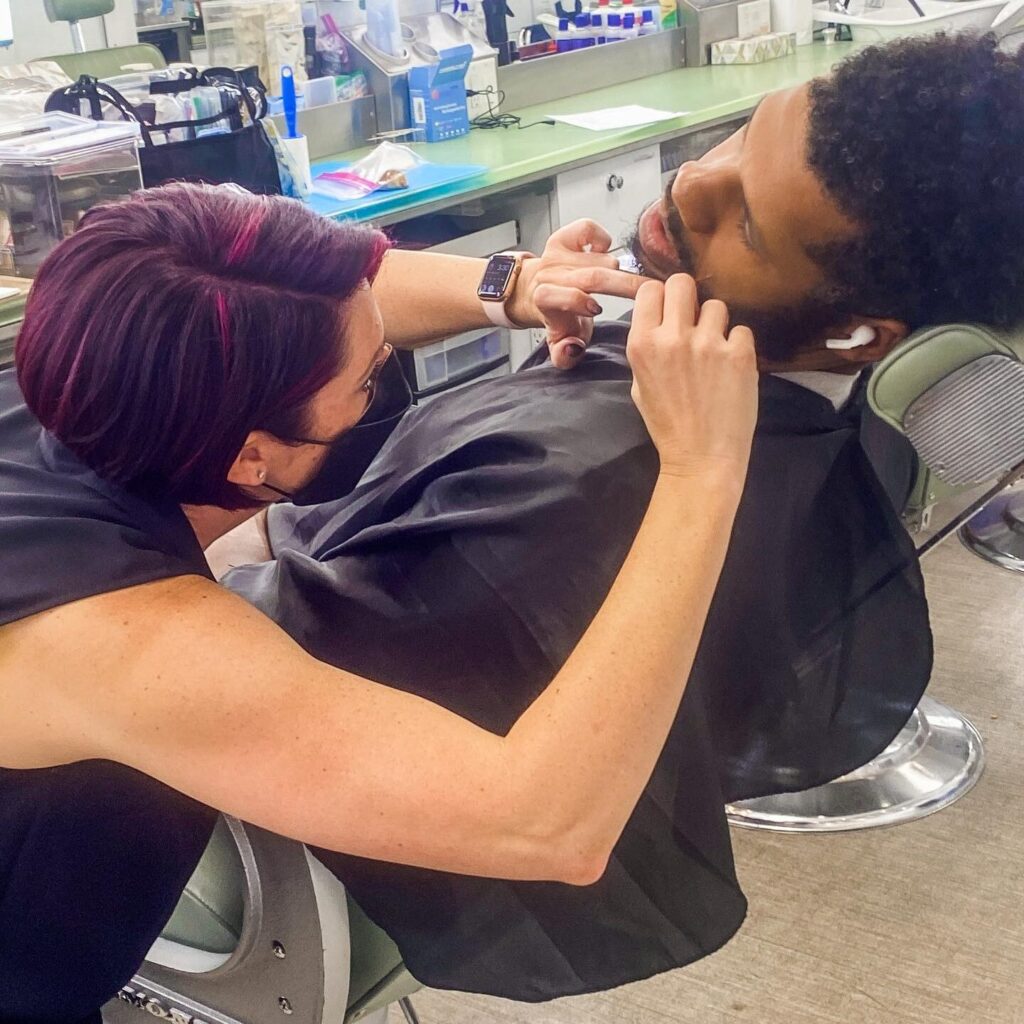 It’s a fortunate time in life when you begin to see the significance of a moment before it passes. That is what happened for me within weeks of beginning to film “Winning Time”. I knew that this would be a project so special and unique that it would have a lasting impact on both my personal and professional life. There isn’t enough space to properly… Read more: Behind the Scenes: Winning Time