Removing Gel Nail Polish

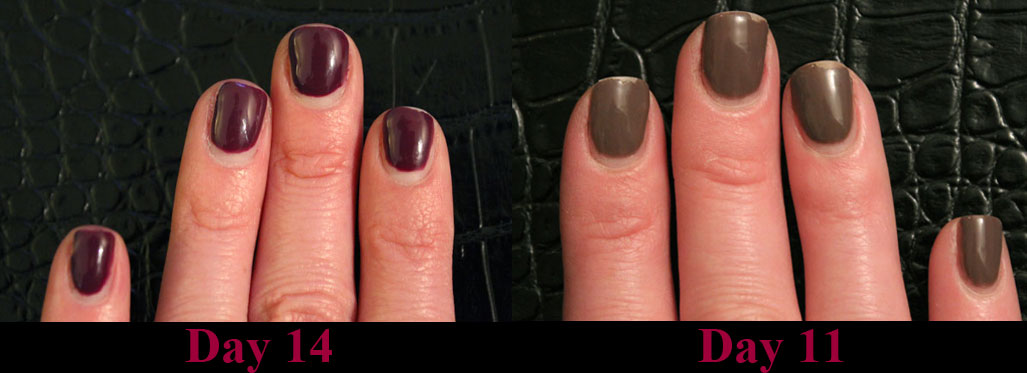
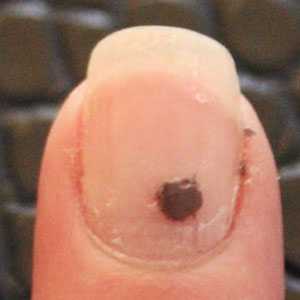
I love Gel Nails, but it is a MUST that they be removed correctly. Once the gel polish starts to lift or chip, it is soooo tempting to want pick the polish off.  Should you be tempted to remove the polish improperly, you could damage your nail.

Damaged-Nail
Damaged-Nail

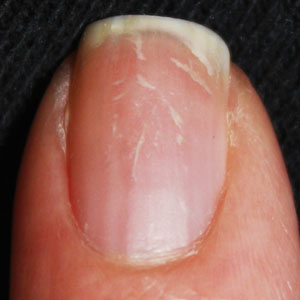
(See, I've already sacrificed one of my nails. Don't do this to yours. :) )

Removing Gel Nails at home is really quite simple.  There are a few items you will need:

  • Pure Acetone
  • Cotton Balls or Cotton Squares
  • Orange Stick (used to push your cuticles back)
  • 10- 2.5"x2.5" squares of Aluminum foil (I prefer heavy duty as it holds it's shape a bit tighter once the nail is wrapped, but the regular will work too.  Also, the measurements don't have to be exact, but this size works best for me.)
Nail
Nail

 Ready to remove the color.

Step-1
Step-1

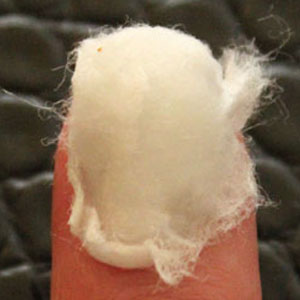
 Dampen 1/2 a cotton ball or 1/2 a cotton square with acetone.  This doesn't need to be dripping with acetone, but it needs to be completely saturated.

Step-2
Step-2

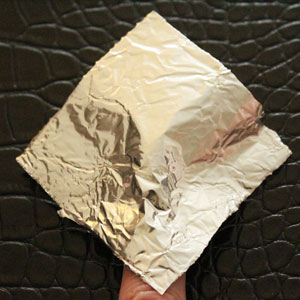
Place the aluminum foil on top of the cotton covered nail.  Make sure the aluminum foil is placed so the corners are pointing north, south, east, west.  This will give you the longest area of the foil to wrap around your nail.

Step-3&4
Step-3&4

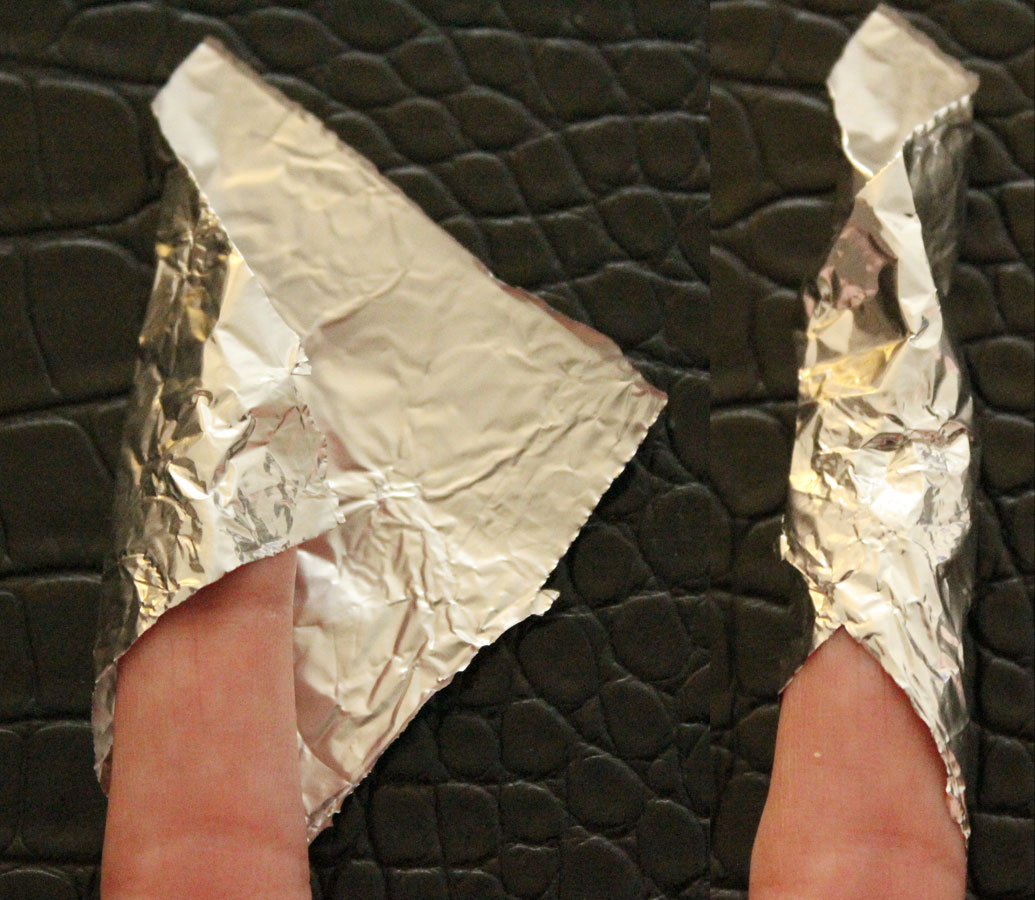
 Turn your hand over and wrap the foil around your finger.

Step-5&6
Step-5&6

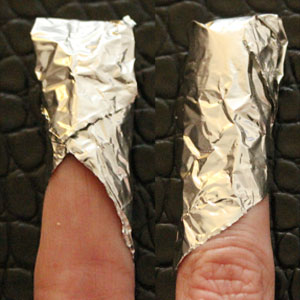
Bend the top of the foil towards the back of your finger.  Turn your hand over and give the foil a small squeeze just under the cotton, about where your first knuckle is located.  This helps the foil from coming loose.

Depending upon the brand of Gel Polish the "soak" or removal time will differ.  I've been using the Sally Hansen Salon Pro Gel Polish and I usually let it soak for 4-5 minutes.  I always want to minimize the amount of time my skin comes in contact with the acetone, so that is why I start checking sooner than suggested.  To remove the foil I don't unwrap it, I just slide it off my finger.  Usually the polish starts looking something like this ...

Step-7
Step-7

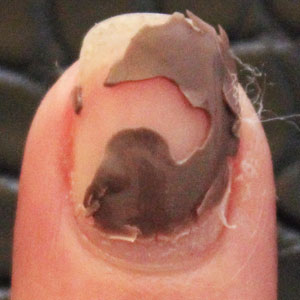
There will be areas that have completely lifted so the polish is gone and then there will be some areas that are still attached to the nail.  Take the orange stick (or a just use a finger nail on your other hand, assuming it's not wrapped in foil) and GENTLY scrape away the polish. 

Step-8
Step-8

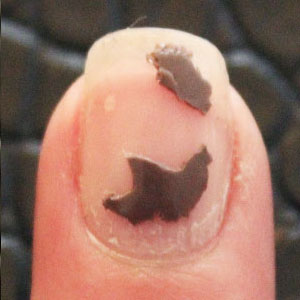
If you still have polish remaining, do not force it loose from the nail.  Just reuse the foil wrap to soak your nails again.  You might need to add a little more acetone to the cotton.

Step-9
Step-9

It may take a few times for the nail polish to completely release from the nail.  The important thing is DON'T RUSH.  You can damage and weaken your nail should the polish be removed incorrectly.

Step-10
Step-10

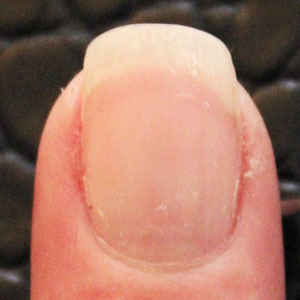
Ta-da! Perfectly removed polish.  Once the polished is removed wash your hands.  Moisturize your cuticles and nails (plain Vitamin E Oil works wonders) and use a heavy hand cream (L'Occitane Shea Butter Hand Cream is one of my favorites). 

Please don't hesitate to ask if you have any questions about this process!

Jamie

Sally Hansen Salon Pro Gel Polish - Product Review

  I LOVE painted nails, but I HATE chipped polish.  Because of my job, my hands are in pictures all the time so my nails need to look prefect.  Regular nail polish had never failed me ... until I had professional gel nails applied.  After having weeks with no chipping, it made regular nail polish just not worth the trouble.

When Sally Hansen released their Salon Pro Gel Polish that promised no chips for 14 days, I was intrigued.

Sally Hansen Salon Pro Gel Kit

Verdict: I love this product.  It's one of my favorite beauty finds.

Pros

There are other at home gel kits on the market, but here are my reason I prefer this one.

  • It's very easy to use and the color lasts.
  • As soon as the color is cured, your nails are done.  No smudging!!!
  • This product is sold in almost every store so it's readily available (Target, CVS, Ulta, etc.).   Budget tip-Some of these stores have 20% off coupons which are perfect for items like these.
  • It uses an LED light, which is safer for the skin, instead of a UV light to cure the polish.
  • These do not weaken my nails like I feel some of the professional gel polishes have.
  • 100% Acetone is all that's needed to remove the polish.  These must be removed properly, see how here.  *See Tips.
  • 99% Alcohol soaked wipes are what's in the packets you use before and after applying the polish. *See Tips
Nails
Nails

Cons

  • The range of colors are a bit limited.  Assuming this product does well in the market, I'm hoping they will expand the color range.
  • I've found my right hand (the dominant one) does tend to chip a bit quicker than my left hand.
  • The LED light has a preset 30 second timer to cure the polish, but each nail really needs a 60-90 second cure time.  **See Tips

Tips

*Some of the other at home gel polishes have specialty removers made only by their brand.  Sally Hansen does sell prepackaged 99% Alcohol wipes and small bottles of acetone, but if you're budget savvy just purchase the CVS or Target brand of Acetone found on the bottom shelf with the nail polish removers.  99% Alcohol is a medical grade alcohol that can some times be found in the pharmacy or can be purchased from one of the make up supply houses in larger cities (West Coast peeps - Frends, Nigel's; East Coast peeps - Alcone)

**Cure the polish for the first 30 seconds with the light shining directly on the nails.  For the next 30-60 seconds, rock the fingers/hand slightly side to side so the light will shine on the edges of the polish and fully cure.  Do this with all 3 steps.

Have you ever tried gel nails either at home or professionally applied?

Jamie